
How to Make Diablo-Style Angel Wings: An Ethereal Tutorial
This tutorial will talk about how I made the wings for my Malthael, Archangel of Wisdom cosplay:
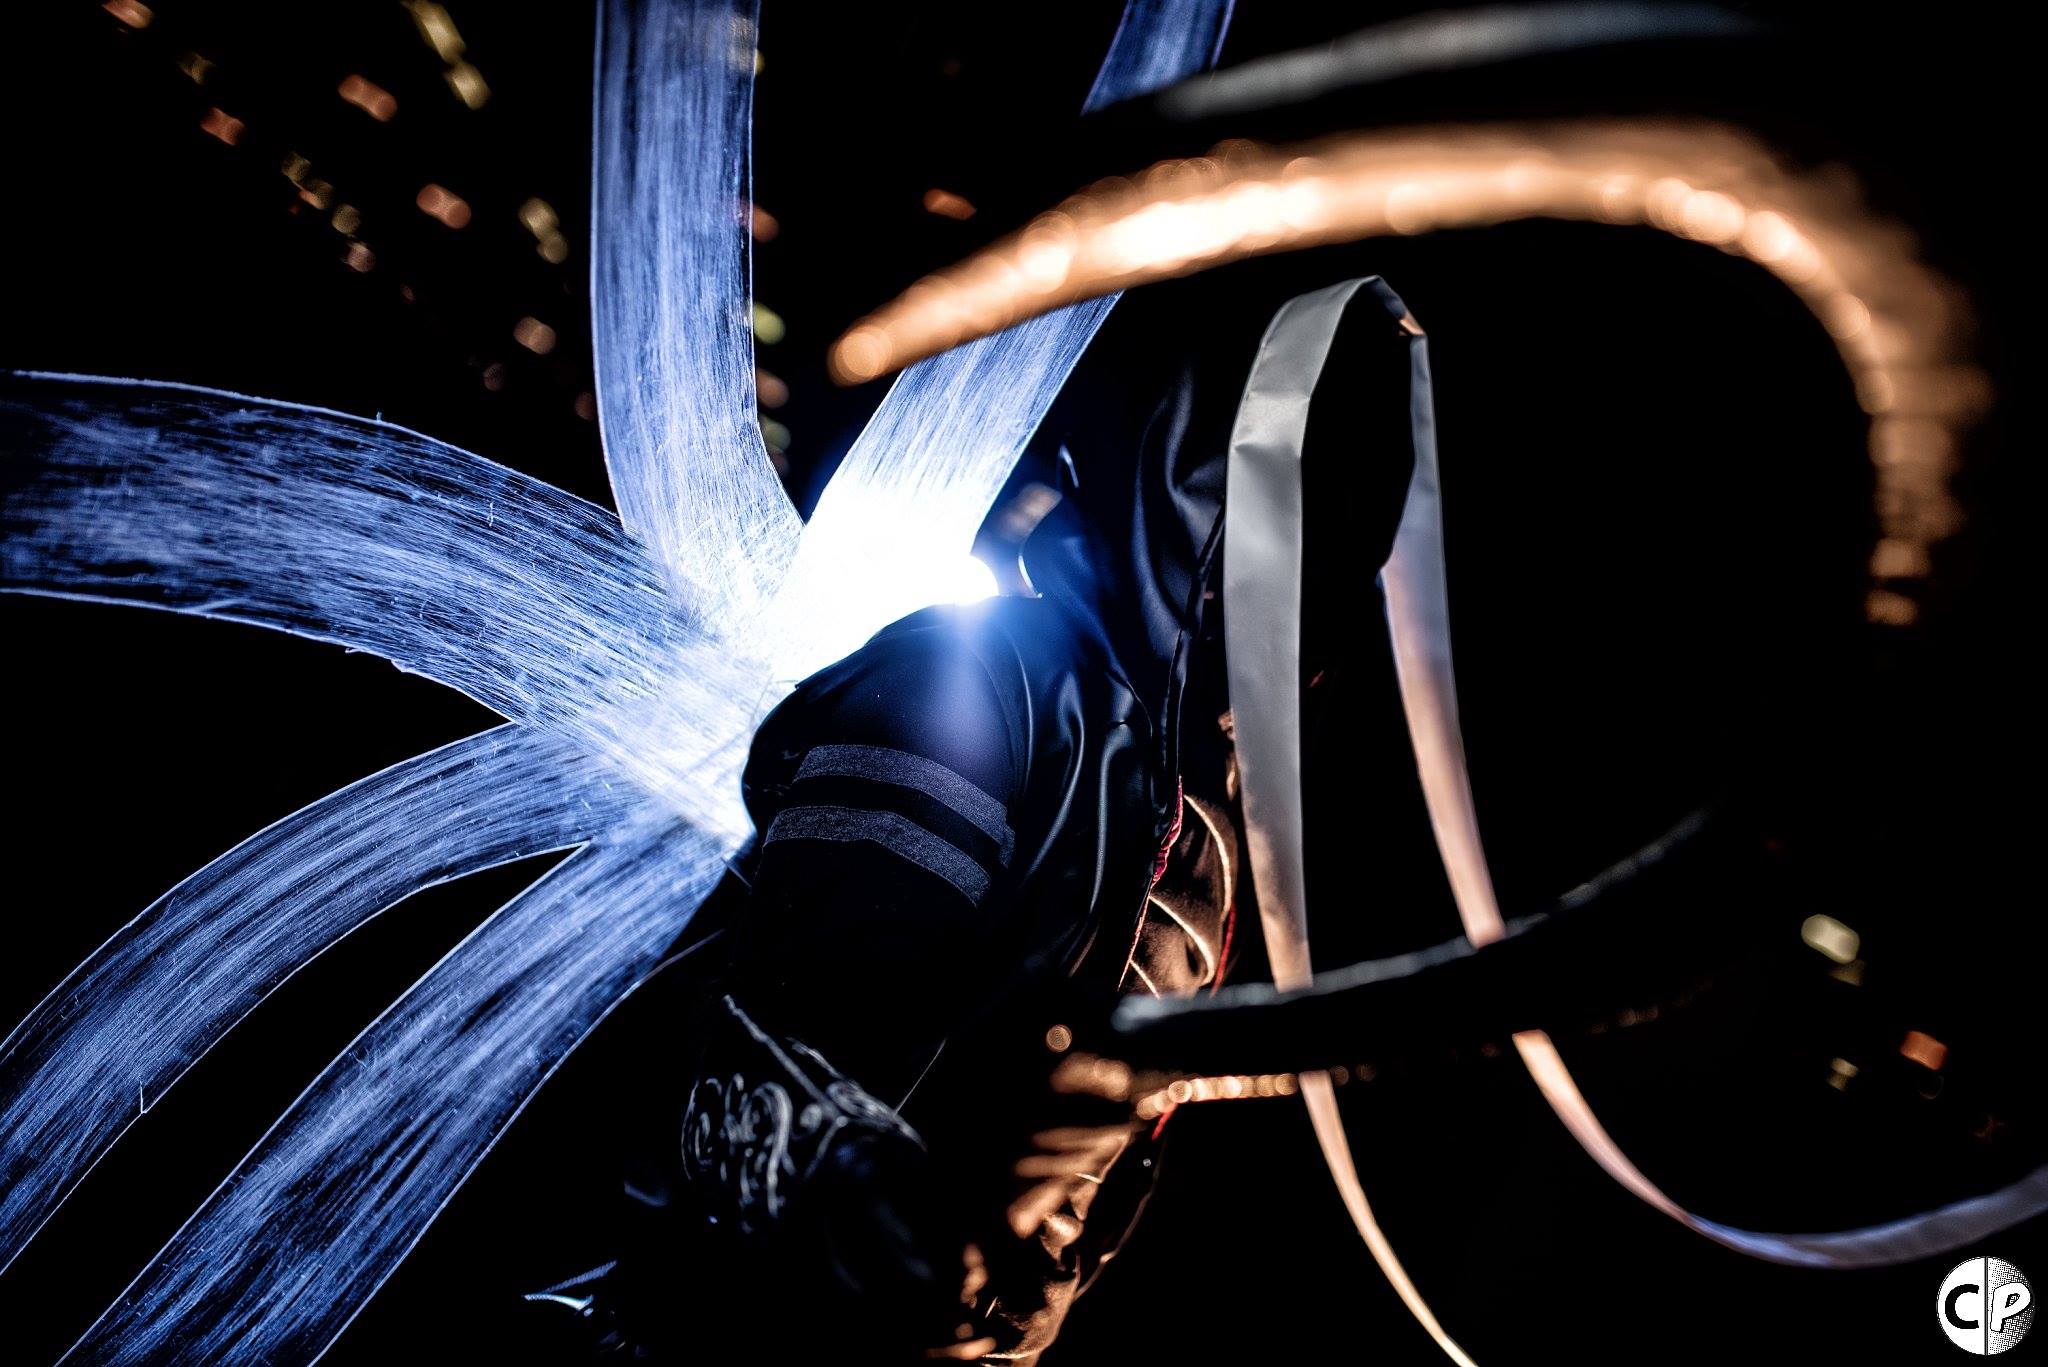
Photo by CosPortraits https://www.facebook.com/Cosportraits

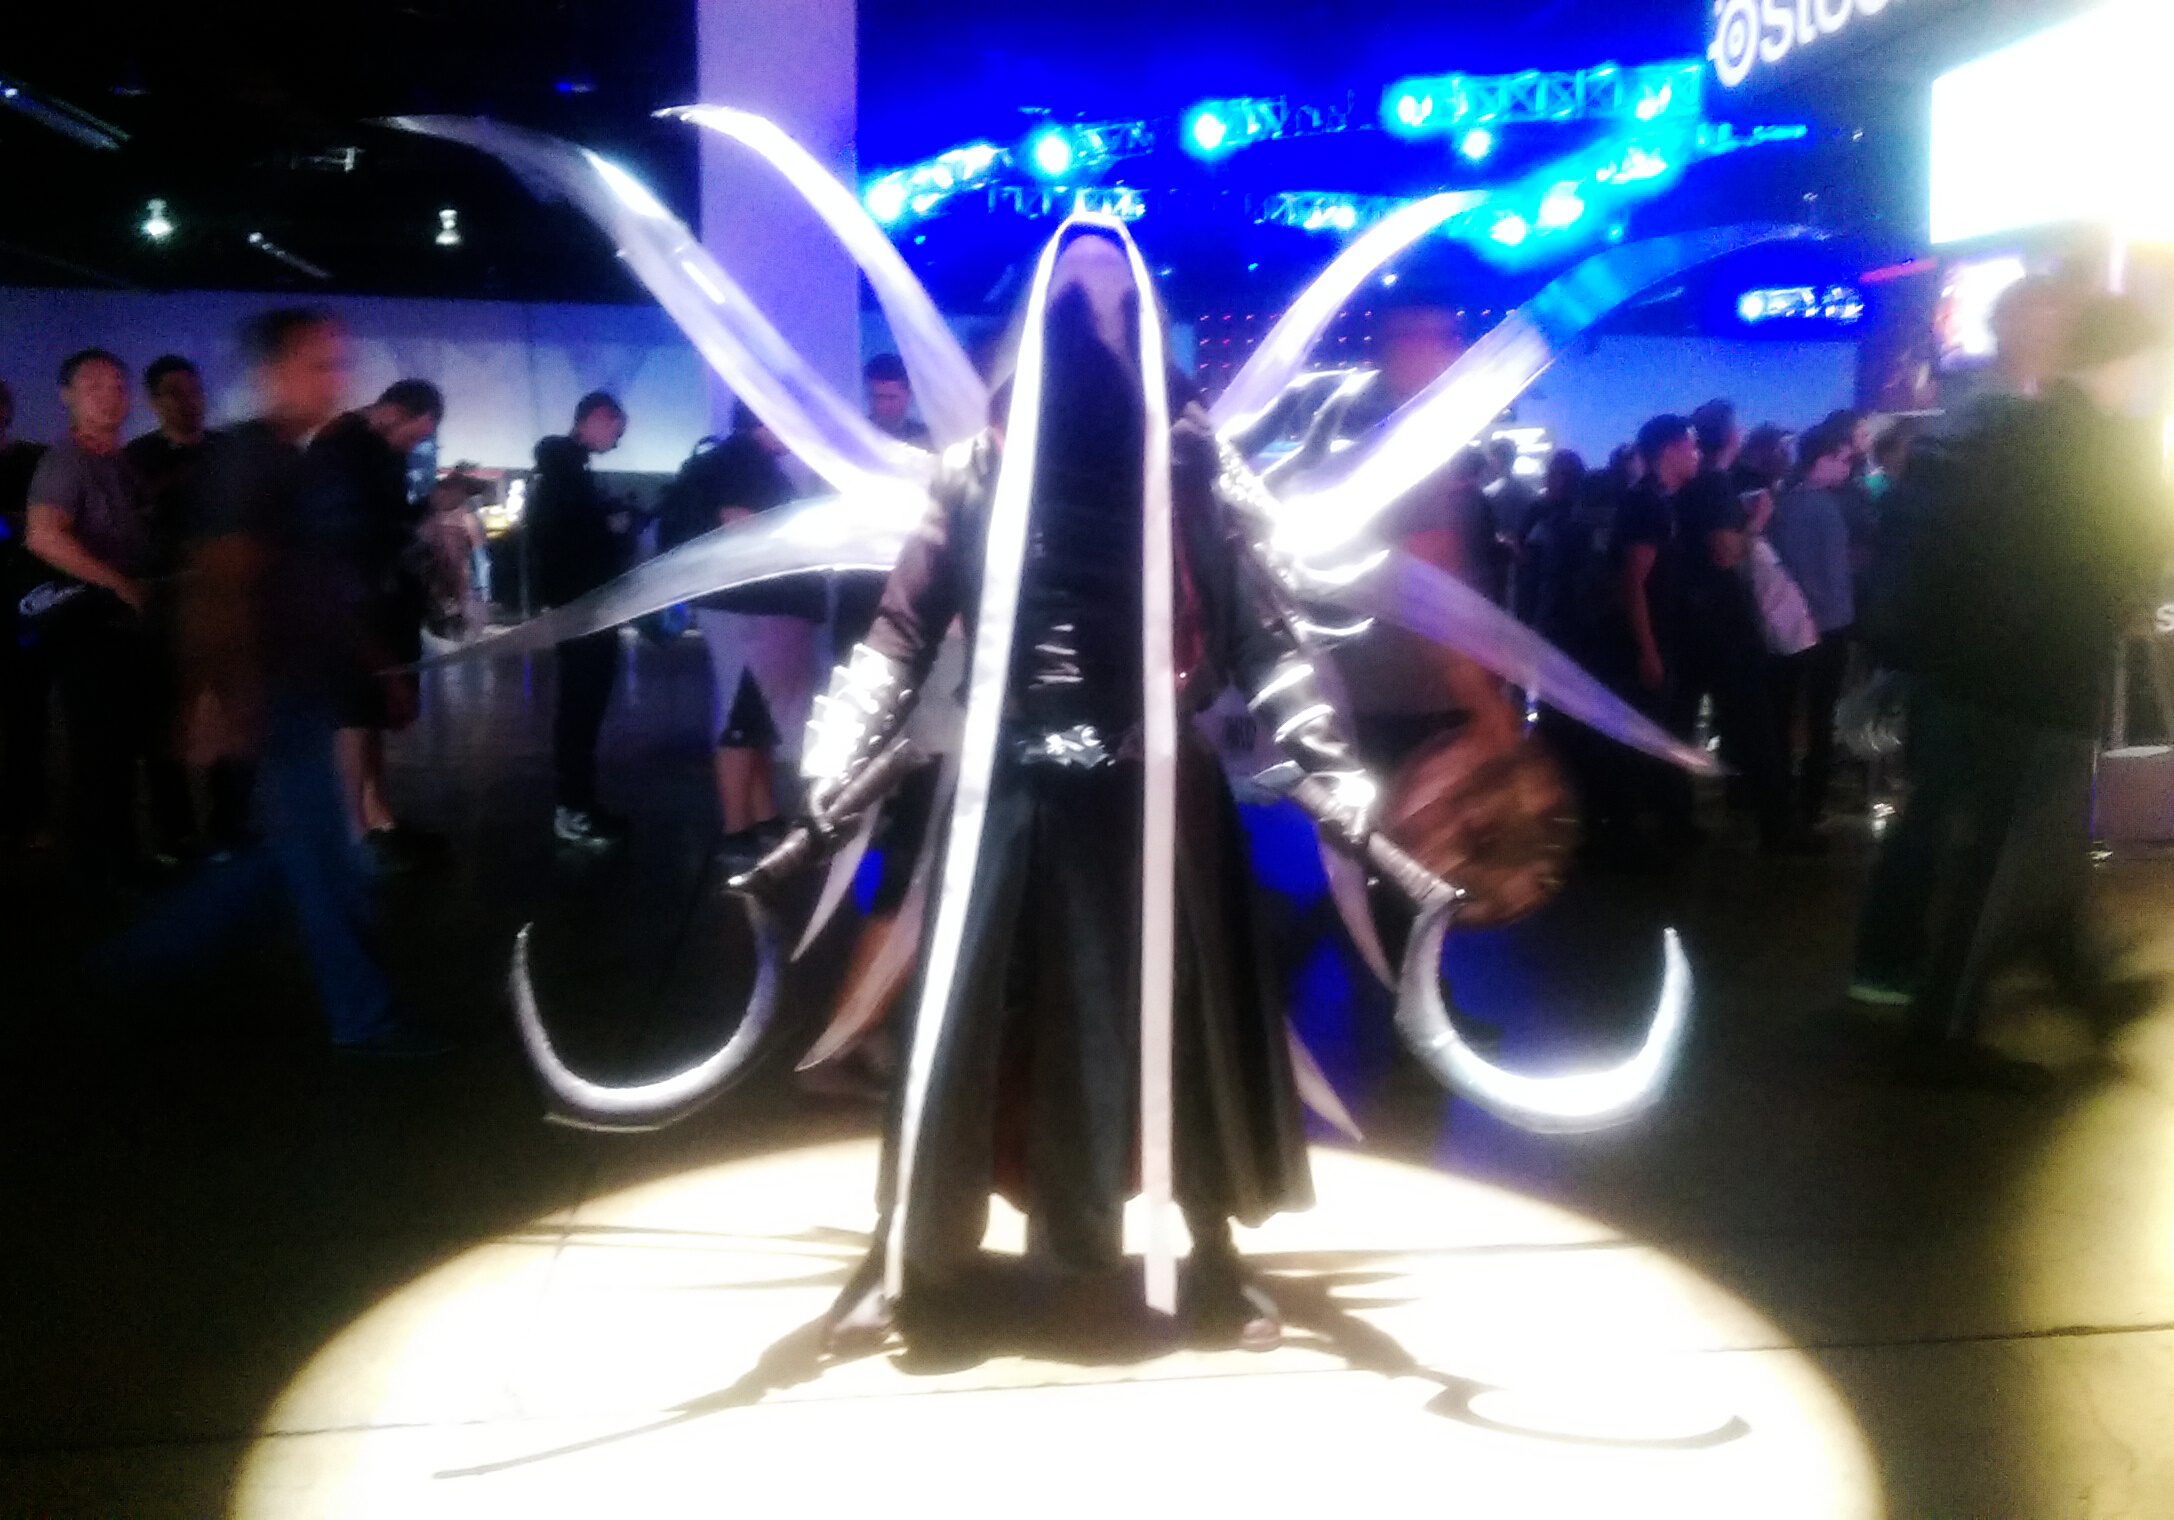
Photo by David Ngo https://www.facebook.com/DavidDTJAAAAMNgo
Here’s a 360 degree view of the cosplay.
Source Material
Let’s talk about inspiration first. I have long pondered about how to create the ethereal tentacle-like wings of the angels from Diablo. I first started theorycrafting Malthael about 3 years ago when I saw his sketch in the Book the Cain, and then later in Diablo: Wrath.


I went through a lot of very complicated iterations and ideas, until I saw Tyrael’s Secret by Apotheosis Cosplay.
I combined my previous ideas with her general design to get the much simpler and more streamlined final result.
Materials
- 1/16″ PETG plastic. This is the most tricky and expensive part of the cosplay to get. I went to a plastic supplier in person and bought an ENORMOUS sheet (like 4′ x 8′) for much cheaper than they list online. Thinner plastic might work, though it won’t be as stiff.
- Something to cut the plastic. I used 3′-long lawn shears. A dremel also works, but it’s slower.
- A roll of paper.
- Sandpaper
- Worbla, craftfoam
- 4 Nuts, 4 bolts, 8 washers.
- Zip ties
- An electric drill & drill bits
- Clamps
- Clear packing tape
How to do it.
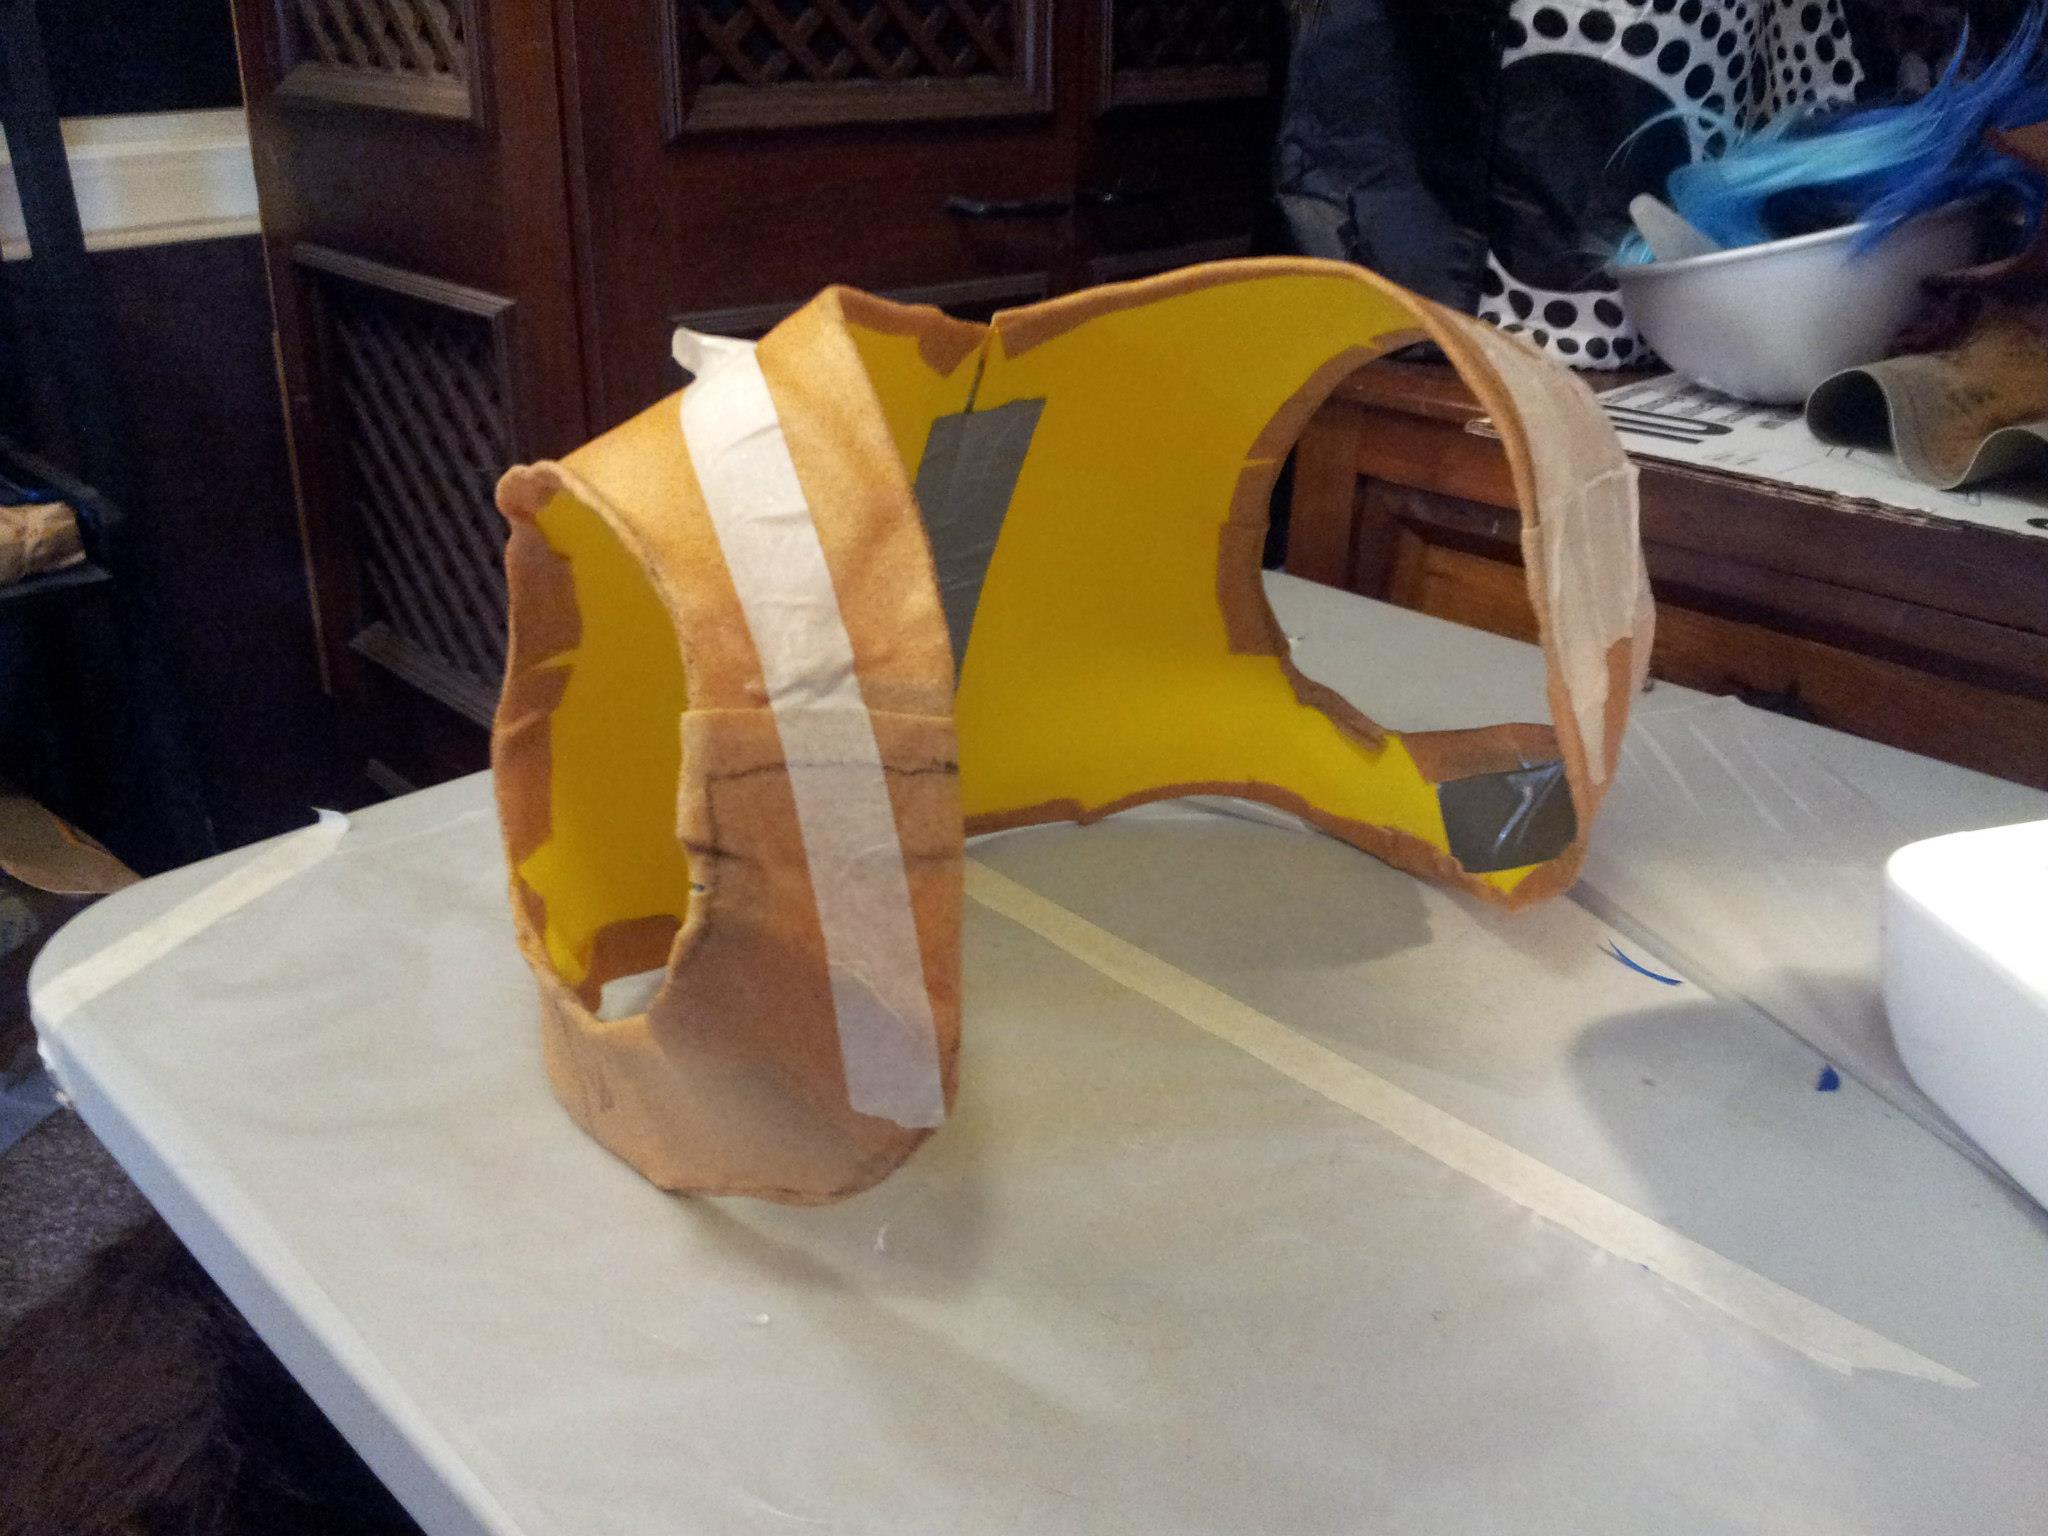
The Harness
The most important part of this cosplay is the part you don’t see- the harness!
- Take a shirt you don’t mind sacrificing and cut out the pattern of a vest from it.


- Transfer that pattern onto craft foam and your worbla.

- Heat and shape it to your body.


- Now you have a sturdy harness that can be used for many different sets of wings and to hang armor off of. It’s incredibly convenient!


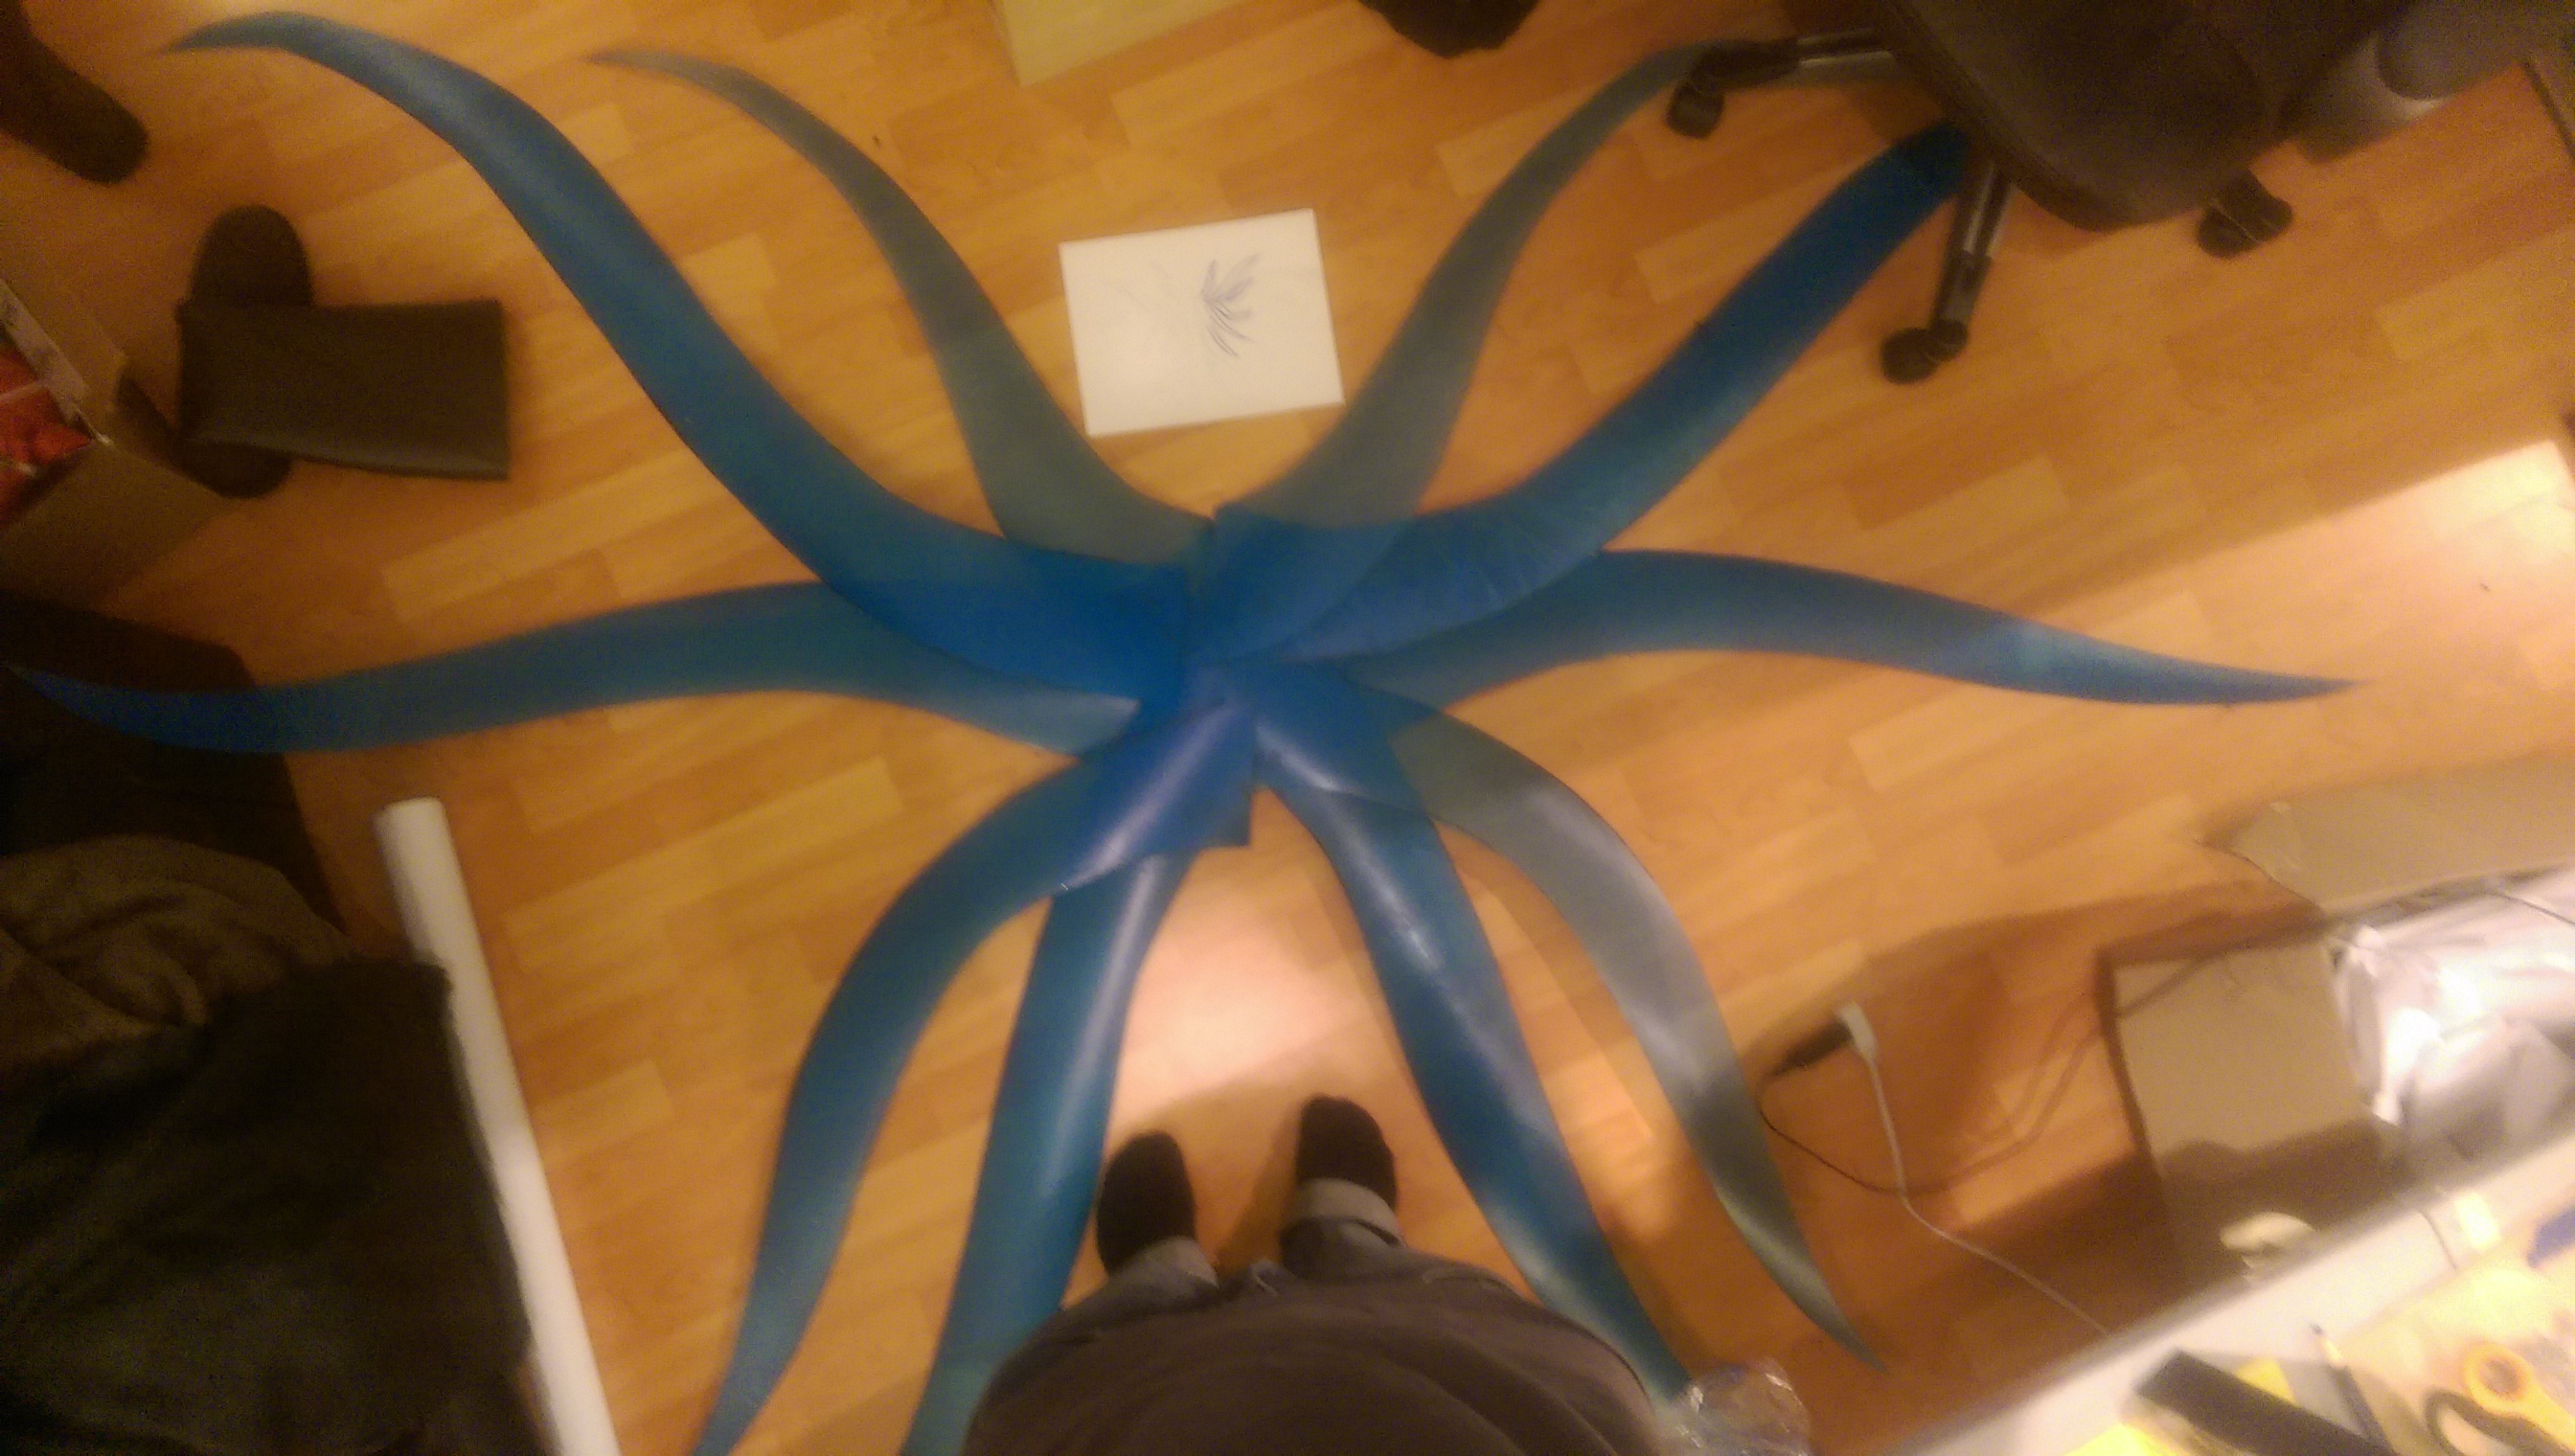
The Wings
- Make a mockup of the design you want on your roll of paper.

- Trace your design onto the plastic, and then flip over your mockups and trace it on again. Be sure to label each wing. When cut it out with your shears or dremel. If you used a thinner plastic, you can use scissors.


- Refer to this picture for the following steps. Look closely.

- Take off the plastic coating and use the sandpaper to score a texture lengthwise on the plastic
- Tentacles that are longer or are horizontal will bend from gravity and their own weight. You can stop this by clamping the plastic in between your legs so the plastic bends for the length of the tentacle, and wrap with the clear packing tape to keep it bent. For redundancy, you can drill holes through the top and bottom and put zip ties through it to help keep it bent.
- Arrange both wings how you want them to be shaped in the end, then clamp them in place.
- Drill 6 small holes through all the tentacles at once, 2 at a time in a triangle, and bind them with zip ties.
- Drill 4 larger holes through the tentacles and the worbla harness in a square.
- Thread your nuts and bolts through the holes with the washers in between.

- Now you have wings!


Of course, for the final cosplay you’ll need to cut holes in your jacket or whatever is going over your harness for the bolts to go through. And then pin a flap of cloth over the connections to hide the back. You can see this if you pause on the back here.
Upgrades.
If I had more time, I would illuminate the wings from the base using small flashlights. That would be pretty awesome.
Happy wing-making!

Theorycrafting: Shining Armor from ‘My Little Pony: Friendship is Magic’
Hello everyone! I’m writing this to get my thoughts in order and to reveal to you guys the thought process I go through when I make a cosplay. Hopefully you can use this to improve your own cosplay! Of course, discussions and recommendations are more than welcome.
By request of one of my friends, I’ll be looking at Shining Armor, from My Little Pony: Friendship is Magic, when he’s wearing armor.

Shining Armor
Shining Armor is the Captain of the Royal Guard of Canterlot, brother of Twilight Sparkle, the Element of Magic, and the husband of Princess Cadence, of the Crystal Empire. As his name and rank suggests, he is very magically powerful, especially with defensive spells. Even in a brainwashed state, his city-wide barrier was able to repel attacks by hundreds of changelings for a prolonged amount of time.
With all these things in mind, I will try to make a costume that harmoniously combines all the elements of his character (chivalry, love, and duty) into a physical form. A magical knight in shining armor.
Overview
Since I am unfortunately not a pony, making this cosplay will require significant reinterpretation to make it come to life. At a glance, I’ll need blue hair, a horn, white clothes, purple armor with gold trim, blue boots, and maybe even a sword and shield. Here’s a sketch of what I have in mind:

Sketch of Shining Armor and Princess Cadence that I intend to make with my friend SammBam.
Armor
Shining Armor’s armor is purple with gold trim and small half-sphere gems for accenting. There is a small shield in the center of the chest in the shape of his cutie mark and the rest of his armor swirls symmetrically around it.
I would make the armor out of worbla (a thermoplastic) because worbla handles stretching and organic shapes well. You could make the trim also out of worbla, or craft foam. The most challenging part of this would be the shoulder armor because it’s such an exotic shape.
For most of the armor, especially the shoulders, belt, and bracers, I’d use Volpin’s layering technique to get the desired shape. Though for the gold armor on the sides (thighs), I’d use Kamui’s sandwich method.
Clothes
I’d use white linen for the shirt and pants, and make the waist cape out of purple linen. The outfit is meant to be more functional than stylish, so any matte (non-shiny) fabric should do. I would get leather gloves and dye them navy blue.
I would make boot covers using the same leather and dye.
Accessories
Shining Armor has tri-colored blue hair. There are two ways I’d use to achieve this look.
- I’d get a wig of the middle blue color and wefts/extensions of the highlight and shadow blue and sew the wefts into the wig. The real question is how long I’d want the hair to be. I’d probably go for a medium-length wig for the head and a long wig for the tail.
- Get a white wig, alcohol, spray gun, and blue dye, and follow this tutorial. I think this method would be slightly harder or more time consuming than the first one, but it allows for greater customization.
For the ears and horn I would make them out of craft foam or just buy them from Yaya Han’s website. It’s not a bad thing to support other cosplayers!
Props
Ponies generally aren’t depicted as actually using weapons like a sword and shield, but in my experience it’s a lot easier to pose as a warrior when you have a weapon.
Shield
The shield would be a larger version of the shield in the middle of the armor (his cutie mark). I’d make this like how many people make Link’s Hylean Shield.
Sword
Being a prince of the Crystal Empire, I think it would be really cool if he had a crystal sword. I don’t know exactly what shape I’d make for it, I’d use my crystal creation method to achieve it.
If you make a sword and shield, you need to think if you’re gonna carry them all the time or not. I’d prefer not, so I would make a harness that goes over your back with a sheath to hang them on. It’s good to take inspiration from existing sources when you build things.
Thanks for reading! Feel free to post/message me if you have any questions or requests.
Crystal Creation: A Fabulous Gem Tutorial
Create you own Crystals!

A lot of people asked me how I made Taric’s crystals, so here’s a tutorial.
Supplies:
- Cardstock paper
I use cardstock instead of printer paper because it’s sturdier and won’t warp as readily. If your crystal architecture depends on your plastic warping, you’re gonna have a bad time.
- Clear Packing Tape
You can use hot glue instead of packing tape later on, but it will be far more difficult, fragile, time consuming, and conspicuous.
- Glitter Glue/Paint
Glitter glue bonds easily to the plastic but is especially transparent in the end and will not diffuse light from LEDs.
Glitter paint is less transparent and will diffuse LEDs somewhat. I use both.
- Clear (Thick) Plastic Sheet
The plastic should be the thick kind from a hardware store that has a thin plastic covering on both sides. But not too thick! I got 1/16″ and that was a little thicker than necessary. Find something that’s thick enough to be covered on both sides but thin enough to cut with good scissors. I’m guessing 1/32″ should do.
- Transparent Tinted Cellophane (optional)
If your crystal is thin you can use this to diffuse the light from your LEDs. I used a roll Christmas wrapping from the dollar store.
- -LEDs (optional)
I used battery-powered Christmas lights in mine. It’s a lot easier to make a prop with 64 LEDs than 1.
- -Reflective Wrapping (optional)
I used foil gift wrapping for the base of the crystals
Tools:
- Straight-edge (ruler)
- Scissors
- Permanent Marker
- Regular Tape
- Router saw (hopefully you won’t need this)
- Hot Glue (probably)
Instructions:
1) Make Crystal Architecture


- Use the cardstock to make the shape of the crystal that you want. Use the straight edge before you make any cuts because if a line isn’t exactly straight you’ll notice later on.
- Essentially, the process of making a large crystal shape is to start with a triangle and then then attach another polygon to it.
- Each new piece builds upon the last. The length of one of the sides of the last piece you made will be the length of a side of the next piece you make.
- Use regular tape to bind them together, tight as possible. Don’t be sloppy with this step. Each crystal face fits into the next, so little mistakes compound quickly.
- Mark where each face meets (1 through n). You’ll need this to reconstruct the crystal later.
2) Transfer the Pattern


- Cut out each face along the sides. If possible, peel the tape off instead of cutting. This gives a better edge of trace off of.
- Arrange the cutouts on your sheet(s) of plastic and trace them onto the plastic. Be sure to include the numbers. Make them big. You’ll need these to reconstruct it later.
- Cut the pieces out. The plastic I used was pretty thick so I used a router. This is time-consuming. Next time I’ll get thinner plastic so I can cut it with scissors.
3) Paint the crystals


- The side of each piece that has the numbers on them is the “right” side, and the blank back is the “wrong” side. The right side is what faces outwards in the end, the wrong side faces inwards.
- Remove the plastic covering from the wrong sides and apply your glitter/paint to the wrong sides.
- Use a brush to even the paint out. Don’t be afraid to go over the edges. You can afford to be sloppy because the right side is still covered with plastic.
4) Reconstruct the Architecture


- Lay out the whole plan flat so the numbers match up as well as possible, and flip them so the right side faces up.
- Take off the plastic covering of the first two pieces. Remember where the other pieces go in relation to them.
- Use the packing tape to join them together in the orientation you want them to have in the end. You’ll probably want to split the tape lengthwise before you apply it. You can just tear it from end to end.
- Tip: Packing tape doesn’t stretch much, so you’ll need to tape pieces in the angle in relation to each other that they’ll have when you attach the other pieces.
- Take off the plastic covering of one more piece and repeat. Remember that each piece you uncover the harder it is to remember where everything will need to go. You can fit the sides together like a puzzle without the numbers, but it is difficult. Don’t tear off everything at once like what’s shown in the pictures above. It makes things difficult.
5) Add LEDs


- I made a little tower out of foam board, wrapped it with the reflective foil and tape, and then wrapped the LEDs over it.
- Using LEDs causes “hot spots” of concentrated LED light. You generally don’t want this. I tried to overcome hot spots by using a lot of LEDs so it has hot spots all over. You can also wrap the LEDs with cellophane and that will diffuse the light well.
6) Attach to base
- Use hot glue and packing tape over that, or your choice of adhesive. And a LOT of it. You don’t want those crystals falling off of your armor/prop, do you?
7) Conceal the attachment


- I used hot glue and cellophane to fill the spaces.
And now you have a fabulous crystal! Enjoy!

